


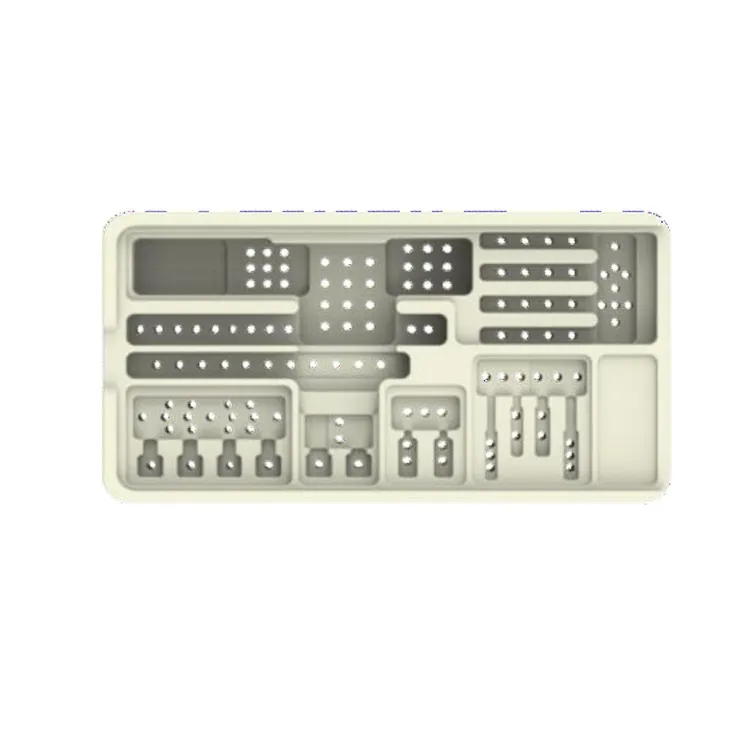


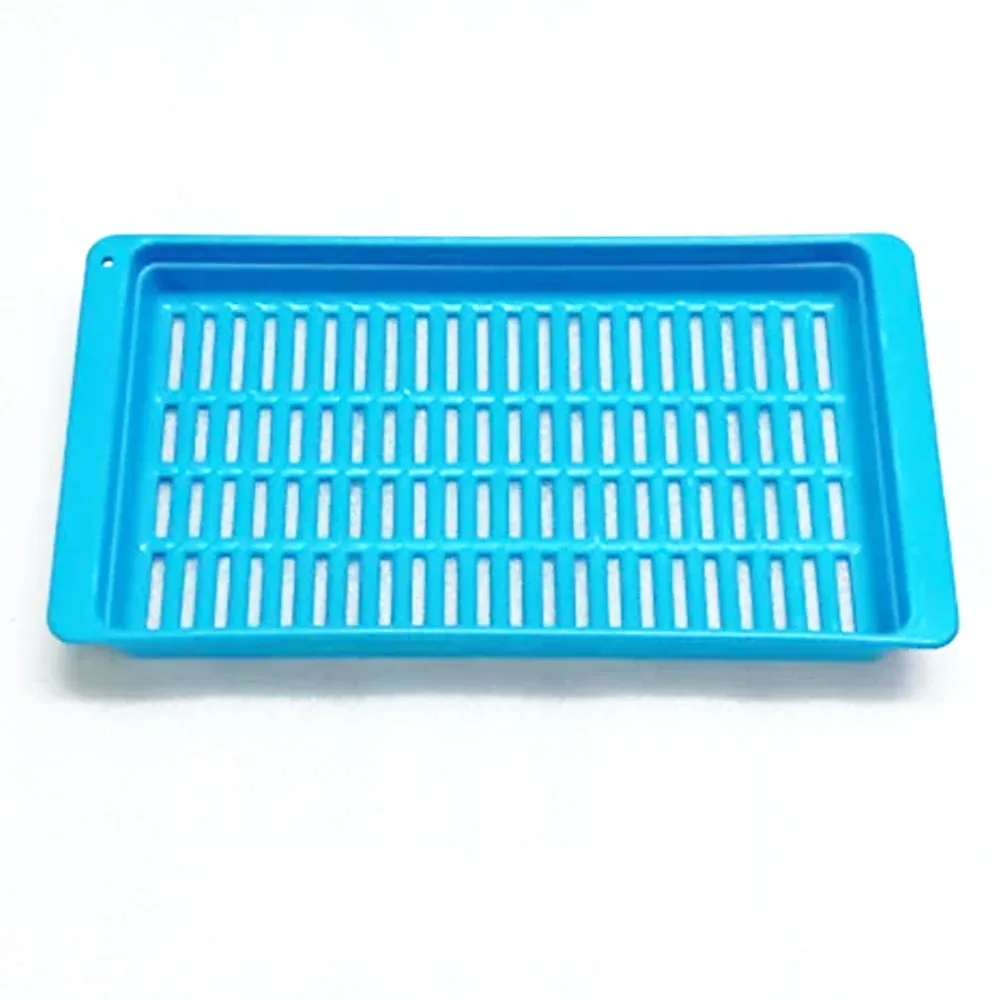


J Morita Frame Cut Back Tray - Medium/Large
Innovative frame cut back tray ensures precise mandibular impressions, optimal anatomical fit, and enhanced denture stability
Features:
Innovative Frame Design: The frame is cut back in critical areas like the retromolar pad and buccal shelf regions, minimizing deformation and enhancing border closure.
Enhanced Tongue Space: Features a wide tongue space and a recess to comfortably accommodate the tongue tip.
Accurate Impressions: Provides effective and precise preliminary impressions for mandibular complete dentures.
Integrated Handle: Centralized handle ensures easy handling and proper alignment during impression-taking.
Orientation Indicators: Line markings help identify tray orientation for accurate placement.
Customizable Fit: Adapts to diverse mandibular ridge anatomies, allowing necessary frame adjustments.
Reinforced Plastic Material: Durable and resistant to breakage for reliable performance.
Key Specifications:
Category: Impression Trays
Material: Reinforced lastic
Sizes: Medium and Large
Autoclavable up to 135°C
Packaging:
3 x Medium tray
3 x Large tray
Direction to Use:
Tray Selection:
Choose the tray size (Medium or Large) based on the residual alveolar ridge size.
Ensure the lingual wing extends to the posterior end of the retromolar pad. Modify the tray shape if needed for proper fit.
Trial Insertion:
Seat the tray in the patient’s mouth and ask them to rest their tongue on the tray.
Have the patient close their mouth slowly to bite the tray handle and remain relaxed.
Mark Tray Position:
Mark the tray handle position and instruct the patient to repeat the same motion after the impression material is applied.
Prepare Impression Material:
Mix alginate with water at 1.5 times the normal ratio.
Simultaneously, mix alginate in another bowl with water in the standard ratio.
Inject Impression Material:
Load alginate of thinner consistency into a syringe and apply it around teeth and critical areas.
Apply Material to Tray:
Load the other alginate mixed onto the tray, ensuring coverage of the frameless areas like the retromolar pad.
Impression Taking:
Insert the tray into the patient’s mouth, matching the anterior ridge first, then the tray wings into the retromylohyoid fossa.
Advise the patient to lightly press their tongue upward and avoid applying strong pressure.
Confirm Tray Position:
Ensure the tray aligns with the marked position, and the patient bites the handle properly.
Pressure Application:
Stand behind the patient and gently press the buccal shelf upward using the palms to prevent excess material buildup.
Impression Removal:
Once the material has hardened, carefully remove the impression. The retromolar pad and posterior margin should be well-defined.
Verify Impression:
Check the impression for accuracy, ensuring all critical areas are captured.
Cast Preparation:
Pour the cast model and verify the details for further procedures.
This method ensures minimal air entrapment and delivers high-quality mandibular impressions.
Additional Info:
Country of origin: Japan
Manufacturer: J-Morita
Warranty:
Warranty is not applicable for this product.