
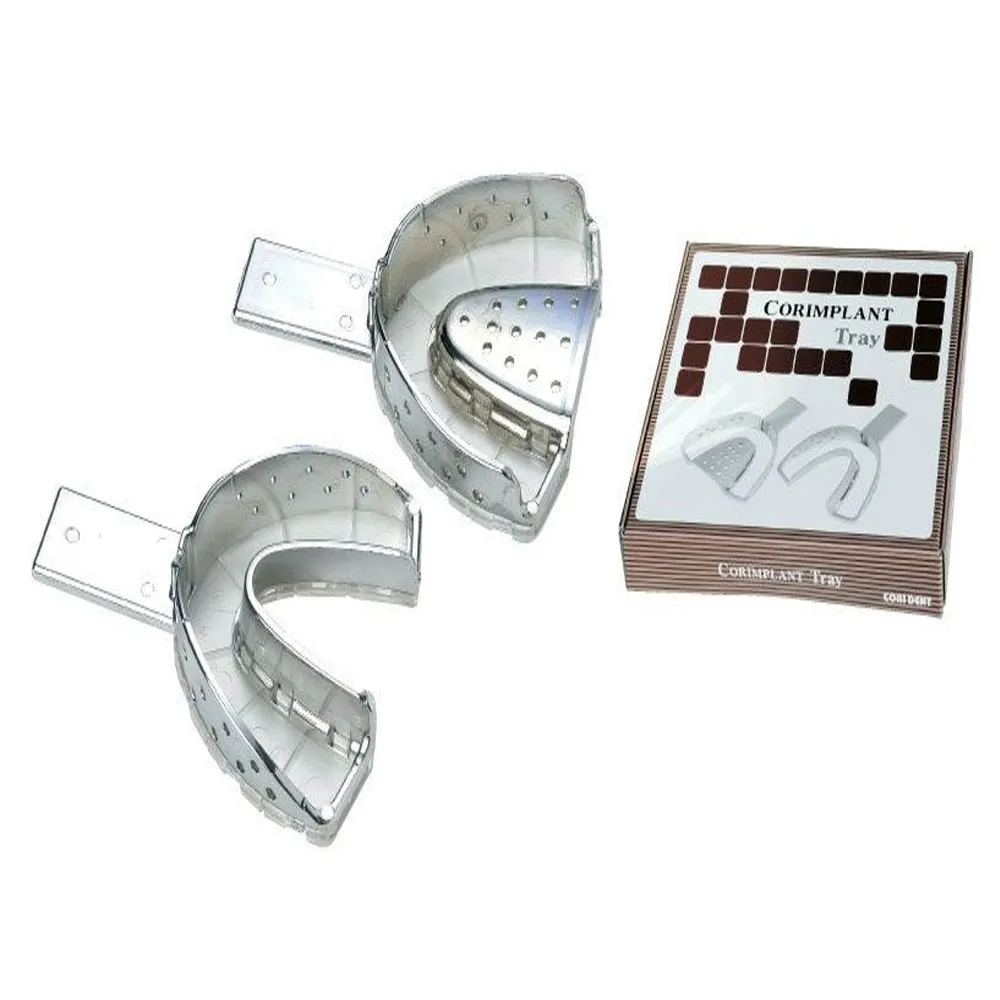
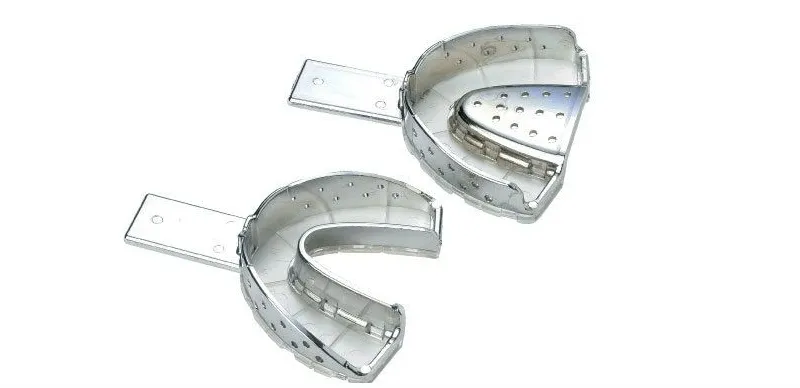


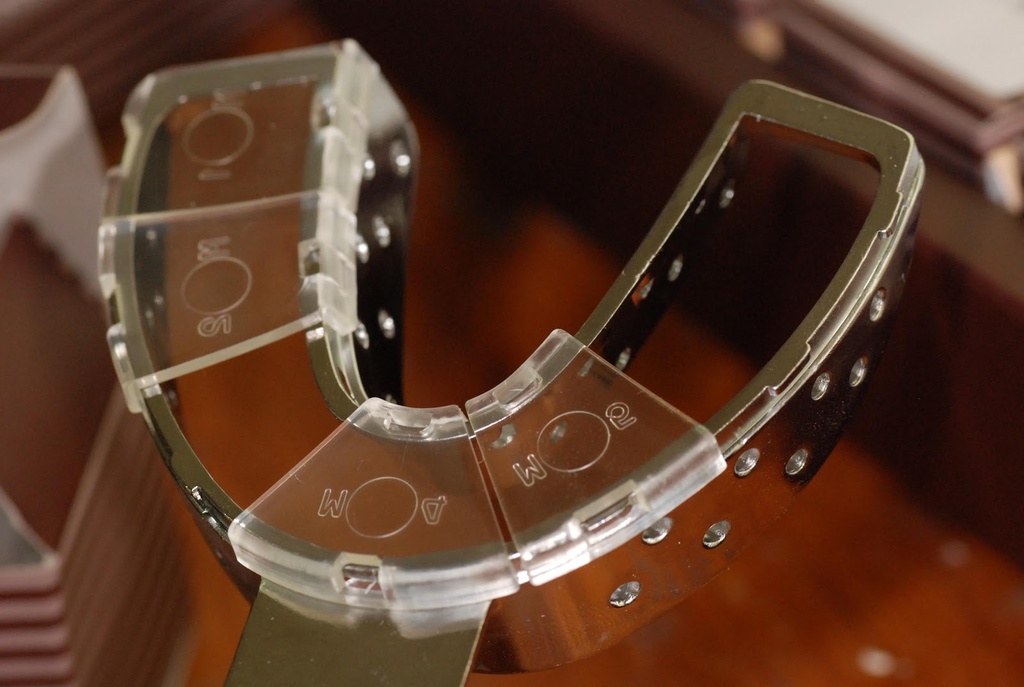


Corident Corimplant Trays
Lightweight, secure aluminum tray with removable transparent bottom covers for implant impressions
Features:
There is no risk of change (Solid aluminum BODY).
It is possible to separate the Tray bottom by parts and make a hole exactly on the screw zone since screw zone can be check during getting the impression.
Convenience to use.
Safety.
Fit strong and secure.
High Precision.
Key Specifications:
Disposable Plastic Covers - Transparent plastic covers for the bottom parts composed of 7 pieces can be separated from metal tray.It is convenient to get the impression without making individual try since the plastic part can be detached from the implant screw.
Economic - CORIMPLANT TRAY is more economical than other individual and disposable trays.
Packaging:
1 Complete Set of Implant Trays:
2 Medium (U/L)
2 Large (U/L)
1 Complete Set of Segmented Clear Plastic Covers (210 units):
105 Units x Medium (M1-M7) x 15 sets each
105 Units x Large (L1-L7) x 15 sets each
Direction to Use:
7 Pieces of Plastic covers are used for a tray.
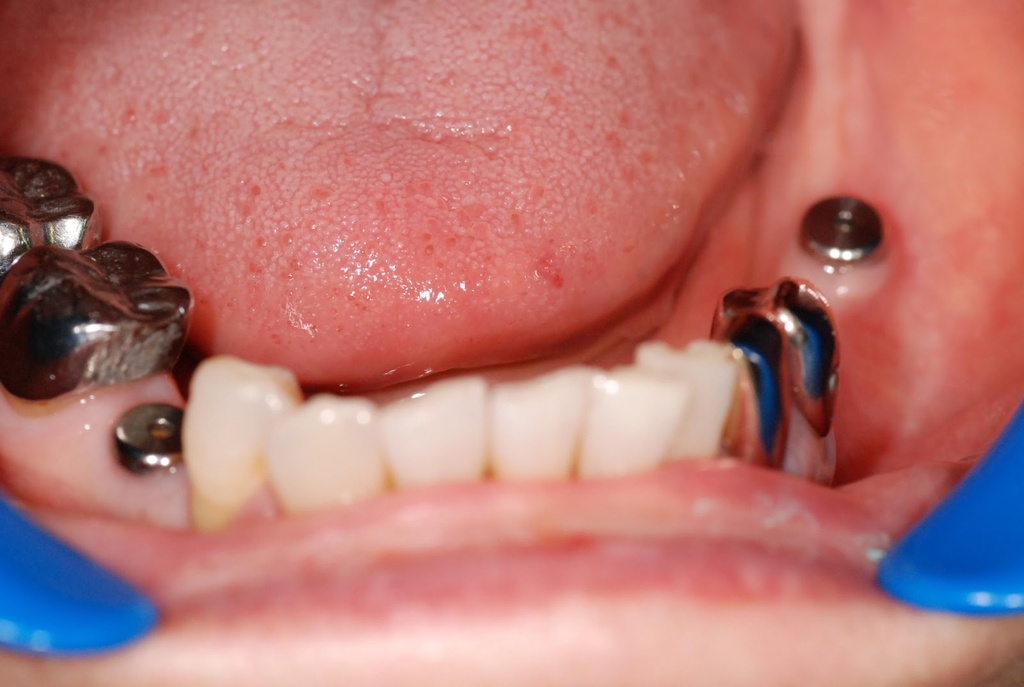
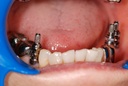
STEP 1: Before Impression condition of Implant patient
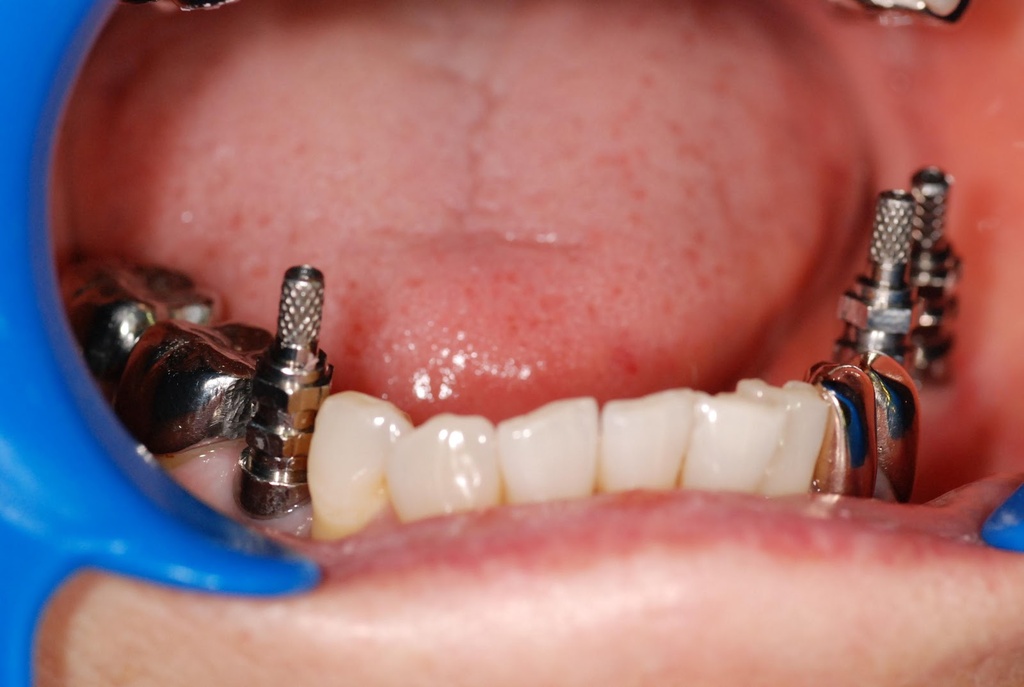
STEP 2: With screws in the mouth before Implant Impression
STEP 3: Insert transparent cover on the tray. Insert the cover avoiding the part to get the impression
STEP 4: Try to put on the tray in the mouth. Check the location of tray cover part and screw part and check if the screw protrudes out.
STEP 5: It is ok to detach the Screw part Cover and make a hole on the screw zone
STEP 6: Get the impression of Putty Type.
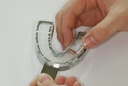
STEP 7: Insert the cover from the inner side of the tray
STEP 8: Widen the gap between the cover using a detaching tool and detach the cover. It is easier to detach the cover if you close up the try slightly with your hand.
STEP 9: Put the Putty Type impression material in the tray
STEP 10: Cover the Putty with plastic wrap
STEP 11: Get the impression of Putty and let the screw part be protruded.
STEP 12: Mix the Injection Type and put it on the Putty impression.
STEP 13: Spread the mixed Injection Type on the part to get the impression in the mouth.
STEP 14:
Get the impression of inside the mouth. Get the impression fixing the screw part is exactly outside.
STEP 15: Unscrew after the impression material becomes hard.
STEP 16: Remove the tray out of the mouth with care.
STEP 17: Bottom side of the removed tray.
STEP 18: Insert the Lab Analog in the Impression and fasten the screw
STEP 19: Pour the gypsum on the Tray.
STEP 20: Pour the gypsum to cover the Lab Analog enough as bulging.
STEP 21: Unscrew and detach the gypsum model after the gypsum is hardened.
STEP 22: Completed Impression model
Impression is taken
Additional Info:
No additional info provided
Warranty:
This product does not carry any manufacturer/importer warranty